Phase 0 : Feasibility / Planning
This phase takes place at the start of the project, and the information it reveals is necessary to begin Phase 1. In Phase 0, the control room design project / idea is evaluated and analyzed to determine:
- Can it be done?
- Will it fall within the estimated cost of the project’s budget?
- Does it make good business sense? Will there be a return from it?
The feasibility / planning phase should answer:
- Who will manage the project?
- What is the vision for the work to be done?
- When is the project expected to be complete?
- Where is it located?
- How will the project be handled?
- Is the project a new build or renovation?
- What are the key reasons for the opportunity?
- What is the budget and is it already funded?
The following control room engineering items are explored during the feasibility / planning phase:
- Internal procedures / procurement process
- AutoCAD drawing availability
- Location within the building (e.g. first floor, second floor, etc.)
- Type of floor (e.g. raised, concrete, etc.)
- Type of operations (e.g. 24/7/365 facility)
- Hard targets and rough layout with measurement
- Pictures of current space / area to be renovated (if different or available)
- Availability of a back-up location
- Seismic engineering requirements
- Security concerns
Importance of the Feasibility / Planning Phase
The feasibility / planning phase is important because it provides us with a clear background of how your company operates, the scope of work, expected process, project team, overall project goal, and timeline. It also allows us to formulate a proposal letter for the first phase of the project (programming & conceptual / schematic design) and helps us determine a supply of delivery items. Finally, it allows us to estimate the amount of time needed for each of our teams to complete required tasks for your custom control room.
What Does a Typical Proposal Letter Look Like?
Every proposal letter includes background on the company and the scope of work. In addition, the deliverables might include:
- Interactive on-site programming session (data discovery meeting)
- Conceptual / schematic design drawings (2D layout)
- 3D enhanced renderings
- Lighting study
- Noise abatement recommendations / locations
- A/V supporting documents (functional use statement)
- BTU and electrical load calculations
- Typical build schedule
- Budgetary assessment
- Design summary document
- Terms and conditions to move into Phase 1
Phase 1 : Programming & Conceptual / Schematic Design
The overall goal of Phase 1 is to determine the current and future criteria needed to meet the control room design within upcoming phases. Phase 1 determines the framework / roadmap of the project and is the point where it becomes a job. Work begins on the deliverables supplied within the proposal letter, and more details are determined. Phase 1 is also where the full project team is brought on board, including (but not limited to):
- CEO
- Vice President
- Building owner (if applicable)
- IT group
- Operations
- Building services
- Procurement group
- Sub-contractors
Participation and feedback from all team members is vital in determining a conceptual layout for the space. The more input received, the more accurately and smoothly the process will run.
Phase 1 Frequently Asked Questions
Here are some of the most common questions our team of control room design consultants will ask you during Phase 1:
- What are the requirements for the space?
- Does it need to be ADA-compliant?
- How many positions will be in the space? Does this number include growth? If not, do you expect growth?
- Will there be a uniform monitor size on each console? If so, what size and how many monitors are expected? Does this number include future growth?
- What type of storage is required at the console or in the room (box, file, open adjustable shelving, closed door storage, pencil drawer, etc.)?
- What type of ergonomic features are you planning on incorporating into the design (e.g. sit / stand consoles, independent height adjustable monitors, heating and cooling options, etc.)?
- Will PCs be stored in the desks or in another location?
- What type of situational awareness tools will be present in the space? What type of content is expected to be displayed? Will it change or remain static? What positions need to be able to “read” the information displayed?
Preparing for the Data Discovery Trip
In the weeks leading up to the data discovery trip, we’ll hold a project kick-off meeting to introduce team members. We’ll also distribute management and operator questionnaires via the project lead to gain a better understanding for how the operation works, resources available, equipment type used, and current challenges faced.
We’ll request a CAD plan or layout of the space ahead of time to verify dimensions when on-site. This makes it easier to mark window, door, and lighting locations, along with hard targets and ceiling heights. We’ll also propose an agenda with the required team members for an on-site, along with coordinating available dates / times for that visit.
During the Data Discovery Trip
You can expect the following things to happen during the data discovery trip:
- Our team will speak with your project team to discuss major project goals, your expectations, and clarify any questions from the questionnaires.
- We’ll also confirm measurements and mark locations of hard targets (e.g. windows, doors, etc.) on the layout provided.
- If applicable, we’ll gather lighting, sound, and humidity measurements in the current space.
- If approved, we’ll build a library of pictures and video.
- We’ll discuss console shapes with your team and any items you expect to have on the countertop.
- We’ll determine where A/V equipment will be housed and how far away it is from the main room.
- We’ll present a conceptual block design (if available) to stimulate conversation or draw up and present our ideas. Ultimately, the point of the data discovery trip is to be an open forum for discussions and questions.
The information gathered allows us to:
- Determine if your location allows for future growth
- Formulate a conceptual design layout (if not already compiled) to reference during live design
- reviews
- Clarify any obstacles or areas of concern for the project
- Determine and design A/V solutions based on requirements
Once the layout has been approved and finalized, we’ll supply a control room design summary for your review. This summary reflects all of the decisions made throughout the programming and conceptual / schematic design phase and is the last step before entering the design / development phase.
What’s in a Design Summary?
Your design summary will include the following:
- Cover page
- Project introduction and team members
- Document index
- Project goals / construction details (if applicable)
- Conceptual space plan (2D drawing referred to as K100s)
- Ergonomic recommendations
- Schedule
- Budget assessment
- Supporting appendix items
- Drawing package
- BTU and electrical load calculations
- Functional use statement
- 3D renderings
- Lighting study
- Product cut sheets
- Recommended placement of noise abatement materials
Once the information supplied has been reviewed and approved and a purchase order has been received, we’ll move into the design / development phase.

Phase 2 : Design / Development
Also referred to as the DD phase, Phase 2 is where the information from Phase 1 is engineered and refined to show more details. We’ll gather as many details as possible to ensure you receive accurate pricing on all work to be completed. The information we gather during this phase is used to create construction documents in Phase 3.
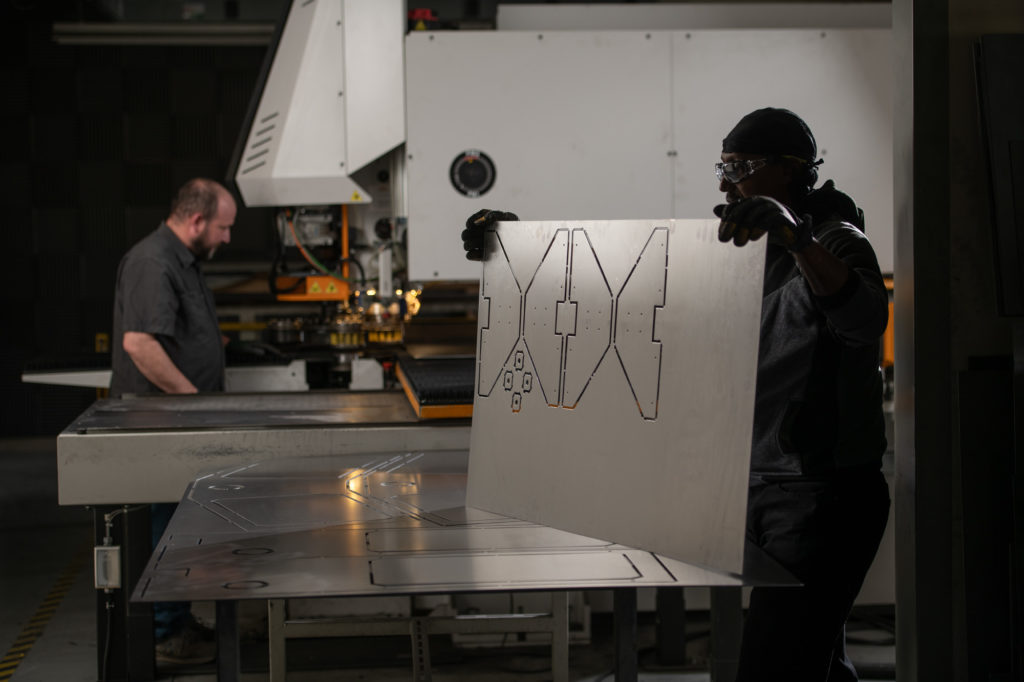
During Phase 2, we’ll provide you with the following control room engineering information:
- K200 drawings
- K300 drawings
- Both K200 and K300 drawings represent frame elements, cable management, the type of storage provided, and countertop details
- K500 drawings
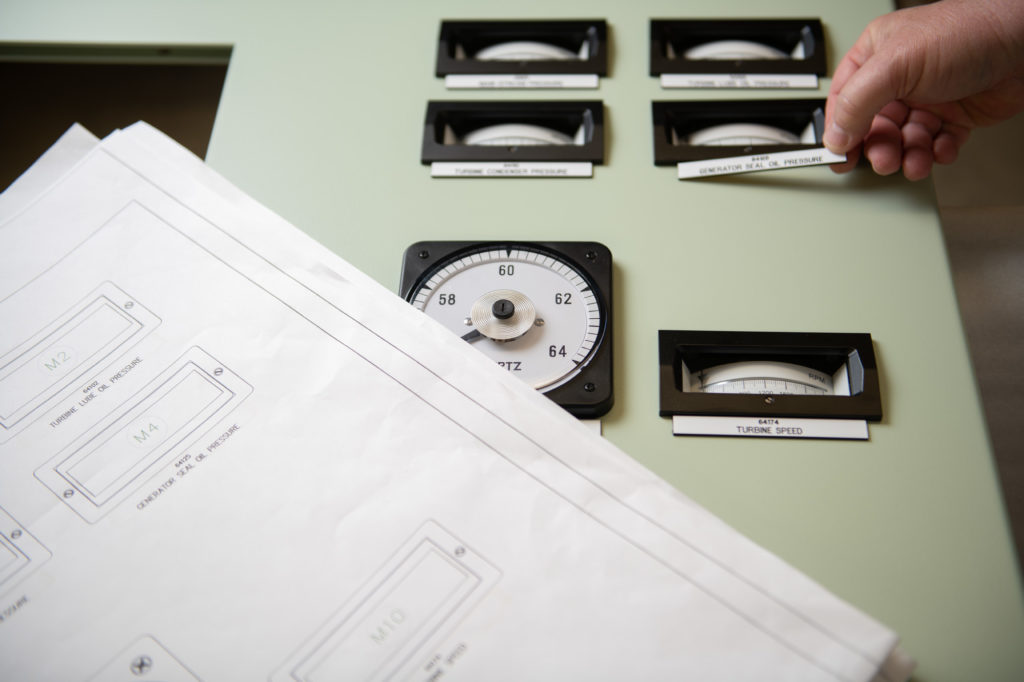
- Placement and type of situational awareness displays, how displays will be mounted, and materials used to finish the area
- K600 drawings
- Connectivity drawings representing electrical location requirements, rack elevations, low voltage wiring schematics, wiring standards, color coding, termination types, etc.
- Placement of whiteboards, mailboxes, etc.
- Approved materials list for the space
- Technical specifications if required for command center furniture (Division 12) and proposed technology (Division 27)
- Finalization of construction methods, code requirements, and HVAC with team and sub-contractors to ensure all issues have been resolved
Next Steps Before Moving to Phase 3
Before we move into Phase 3, we’ll work with you to address the following details:
- Pricing is revised to reflect all design details and materials selected
- All information is submitted to you again for final review, providing a final opportunity for changes to be made
- Once approved, a design development package will be created with all drawings, specifications, pricing, and supporting documents
- This package is submitted alongside the construction drawings in Phase 3 (Construction Documents)
Phase 3 : Construction Documents
Also referred to as the CD phase, this is the last step before the custom control room project is posted for companies to bid on. Construction documents are very important because they’re posted for companies to bid on / build from in order to complete the specified work completed in the previous phases.
Construction documents typically include the following:
- Detailed floor plans with dimensions
- Drawing details, elevations, and section views
- Stamped architectural drawing sets
- Complexity varies based on project type – new build or renovation?
- Engineering plans
- Provided by MEP (mechanical, electrical, plumbing) engineer and / or by structural and civil engineered plans
- Energy report
- Specifications including all materials used throughout the scope of the project, methods of construction, and construction contract requirements
- Resolution to any code issues or building / planning concerns
Once the CDs have been completed, the project owner or architect will send them out to contractors for pricing and bidding. This method depends on the company’s type of contract method. If bidding is required, the CD phase of the project will be followed by Phase 4, which is known as the bid / negotiation phase.
Phase 4 : Bid / Negotiation Phase
The bid / negotiation phase happens when a contractor has been selected and a contract for construction has been drafted between the customer and contractor. This phase can include the following:
- Prepare an invitation to bid (instructions or forms)
- Advertise and solicit bids for the project
- Coordinate and provide all bid documents to those interested in bidding on the project
- Check qualifications of bidders (insurance, expertise, portfolio, references of past projects, etc.)
- Provide additional information when needed for bidders (e.g. CDs)
- Meet with contractors
- Receive bids from interested parties
- Assist customers with negotiations and preparedness of owner / contractor agreement, as well as any other necessary documents